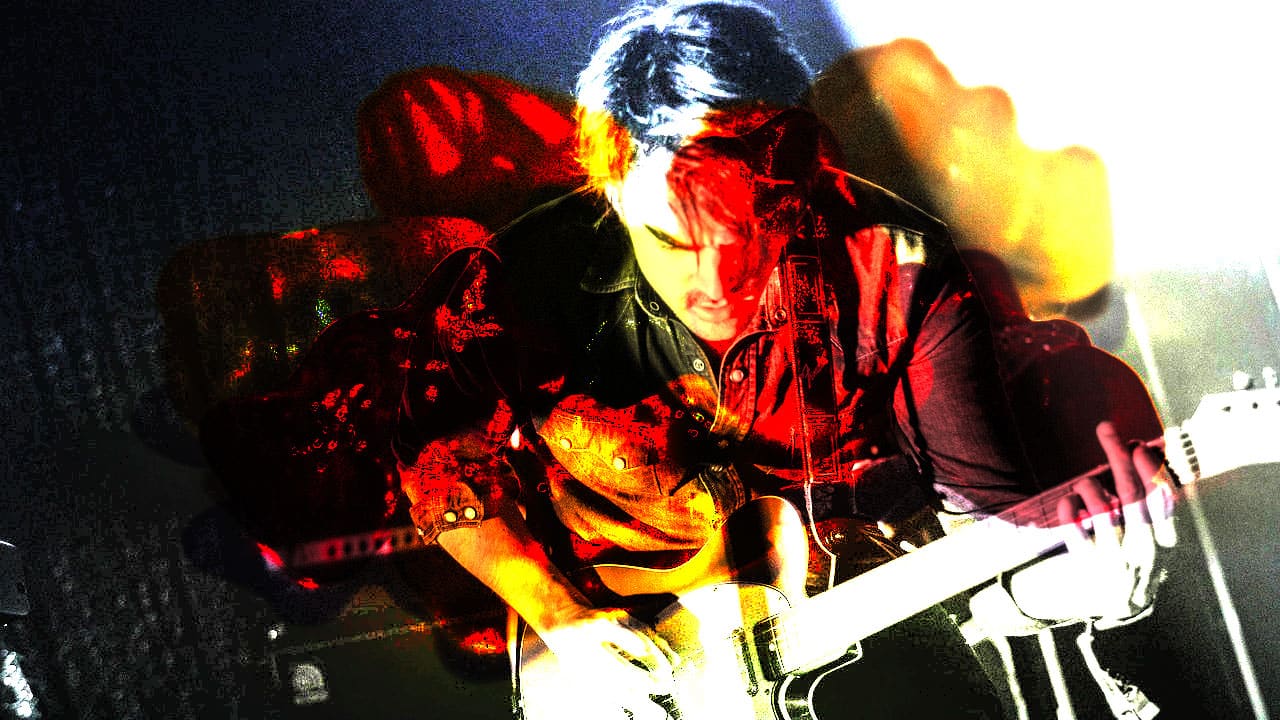
We live in a world where anyone can create and release their music to the world. Due to platforms like TikTok and YouTube, music creators can skip the middleman (label companies don’t always have your best interest in mind, after all) and feed their songs directly to the audience.
However, if you really want to make a career out of your music, you will need some professional equipment and a quality recording studio. Luckily, you don’t have to blow your hard-earned money on renting access to professional studios (which can be quite costly). If you have the space, you can make your own recording studio that will always be readily available when inspiration strikes.
In this article, we’ll have a quick look at the main steps you need to take and give you a rough cost estimate. This way, you can get an idea of how big of a budget you’ll need.
Setup Your Recording Room
Sound is a fickle thing, which is why you need a special room to capture it the right way. If you’ve ever been to a professional recording studio you noticed it doesn’t look like a regular room. First, there are no windows, the walls are insulated to avoid any sound leaks, and the door is really solid and also insulated.
Now, you can’t do this at home, but you can choose a room that has some of the specifications you need. For instance, a high ceiling is always better and you should have a carpeted floor to reduce reverberations. Also, choose a with very few windows (none would be better) and a solid door, preferably made of wood.
The idea is to find a room where there will be as little echo as possible. Echo is extremely difficult (if not impossible) to remove from your recording and if you want your music to sound professional, you can’t have reverberations.
Also, give the room an acoustic treatment by purchasing some foam absorbers for the walls and some bass traps for the corners. This will cost somewhere around $300+ but if you’re not too picky about the foam quality, you can go lower.
Build Your Gear
This part is a bit more expensive, but there are ways to keep the costs down, especially as a beginner.
For instance, you can use your laptop or PC as the main hub and if you’re not planning on doing any complex editing, there are free Digital Audio Workstation (DAW) platforms you can use. Even the more complex ones have free trials that run for one or two months, so take advantage of them.
Next, you’ll need an audio interface to get your recordings into digital format and then out to the headphones and speakers. This device is a must-have if you want to produce good quality music, and so is an affordable studio microphone.
However, the microphone is one of the items you can’t be stingy about. Luckily, due to microphone mods, you now have the option to choose a custom microphone that’s high-quality but won’t break your budget. Plus, you can truly customize these tools to fit your needs.
You should also have a preamp, which is a sweet piece of studio equipment that goes between the mic and the DAC. The preamp makes your mic sound warm and alive (especially if it’s a low-cost one), whether it’s voice or instruments.
Lastly, you can’t do much without good headphones and monitors because you won’t be able to check the quality of your music. Now, when you draw the line and add everything up, you may find that the equipment will set you back $2000+, depending on the level of quality you aim for.
Set Everything Up
Once you have all the tools, you also need to learn how to set up your own home recording studio. For this, you need to understand how each piece of equipment works with the others and how to install them for optimum quality.
Overall, it may be a bit of work and your budget may be tested, but you don’t have to get everything at once. Choose your items carefully and build your studio progressively to avoid putting too much pressure on yourself. After all, once it’s ready, you’ll be free to use it as you like!