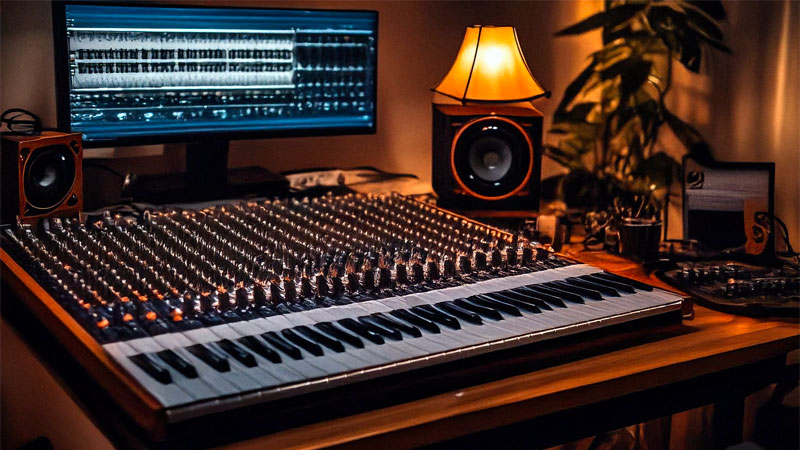
Creating a home recording studio might sound complex, but it doesn’t have to be. With the right gear and a clear plan, anyone can build a setup that produces good-quality recordings. Beginners often feel overwhelmed by the amount of equipment available, but only a few items are truly essential. Focusing on these basics makes the process easier and more affordable. This guide breaks down the key tools needed to get started with home recording.
Choosing the Right Computer
The computer is the heart of a home studio. It runs the software, stores your recordings, and handles editing and mixing. Most modern laptops or desktops can manage basic recording tasks. However, a computer with a fast processor and at least 8GB of RAM will handle audio projects more smoothly. Mac or PC both work well, so the choice depends on what is already available or which system feels more comfortable to use.
Digital Audio Workstation (DAW)
A DAW is the software used to record, edit, and mix audio. Popular options include Audacity, GarageBand, FL Studio, Ableton Live, and Reaper. Some of them, like Audacity and GarageBand, are free or come pre-installed, which makes them great for beginners.
When picking a DAW, consider the type of music or audio being produced. For example, FL Studio is often used for electronic music, while Reaper is a flexible choice for various styles. Most DAWs also offer tutorials, which help shorten the learning curve.
Audio Interface
An audio interface connects instruments and microphones to the computer. It converts analog sound into digital data the computer can process. Most interfaces connect through USB and include inputs for microphones and instruments, plus headphone and speaker outputs.
For beginners, a basic 2-input interface is enough. Brands like Focusrite, PreSonus, and Behringer offer reliable and budget-friendly models. This piece of gear is important because it improves the audio quality compared to recording directly into a computer’s built-in mic.
Acoustic Treatment
Room acoustics play a huge role in providing a clear sound when recording. Even with quality gear, a poorly treated room can lead to unclear or muddy audio. Echoes, background noise, and sound reflections can interfere with both recording and mixing. That’s why acoustic treatment should not be overlooked, even in a basic setup.
Investing in acoustic panels is one of the best ways to reduce unwanted noise and get clearer recordings. These panels absorb sound waves and minimize echo, which helps the microphone capture only what’s needed. Bass traps and diffusers can be added later to further improve the space. For smaller budgets, thick curtains, carpets, or even a bookshelf filled with items can help absorb sound. A clear recording space saves time in editing and makes the final product sound more professional.
Studio Microphone
A quality and dynamic microphone makes a big difference in sound. There are two main types: dynamic and condenser. For home studios, condenser microphones are often the better choice. They capture more detail, which works well for vocals and acoustic instruments.
Look for a microphone that includes a shock mount and pop filter. A shock mount reduces vibrations from the stand or desk, while a pop filter softens sharp “p” and “s” sounds during vocal recording. One good example for beginners is the Audio-Technica AT2020.
Headphones or Studio Monitors
Monitoring the sound is crucial when recording and mixing. While regular headphones might work for casual listening, studio headphones provide a clearer, more accurate sound. Closed-back headphones are great for tracking vocals because they prevent sound from leaking into the microphone.
Studio monitors—specialized speakers designed for music production—are another option. However, they can be expensive and require a treated room for the best results. Beginners often start with headphones and add monitors later as they grow more experienced.
Microphone Stand and Cables
Though simple, microphone stands and XLR cables are essential. A stable stand keeps the microphone steady and in the correct position. Boom stands offer flexibility for adjusting height and angle.
Quality cables also matter. Cheap cables can create noise or wear out quickly. Investing in a couple of good XLR cables ensures a stronger connection and better audio performance. Always check that cables match the equipment’s inputs and outputs.
MIDI Controller (Optional)
A MIDI controller is not required for all setups, but it adds flexibility for creating digital instruments and beats. It connects to the DAW and allows users to play virtual drums, pianos, and synths using pads or keys.
Many compact MIDI controllers are available that fit well on a desk. Brands like Akai and Novation make beginner-friendly models. While not essential, this tool is helpful for those who plan to create electronic or beat-based music.
Putting It All Together
Once all the basic gear is gathered, it’s time to connect everything. The audio interface links to the computer through a USB cable. The microphone plugs into the interface with an XLR cable. Headphones connect to the interface’s output jack. Then, the DAW software controls recording, editing, and mixing.
It’s important to test the setup before a full session. Checking sound levels, adjusting mic placement, and getting used to the software helps avoid frustration. Saving often and keeping files organized also makes the recording process smoother.
Conclusion
Building a home recording studio for the first time can be simple with the right approach. Starting with a reliable computer, an easy-to-use DAW, and a solid audio interface covers the foundation. A good microphone, headphones, and a few accessories complete the setup. Acoustic panels, even basic ones, greatly improve clarity and should be part of the initial plan. With these tools, beginners can start recording music, podcasts, or voiceovers at home with confidence.


